In the blog Using Autotask Line of Business to Segregate Your Billing and Work, I show how to use the Autotask LOB and Ticket Categories to restrict how/when/where your team sees data in each ticket. There are times however you want to get even more granular and also define the Notification Templates, or other data, when a tech enters time on a ticket/task.
Here is how you do that:
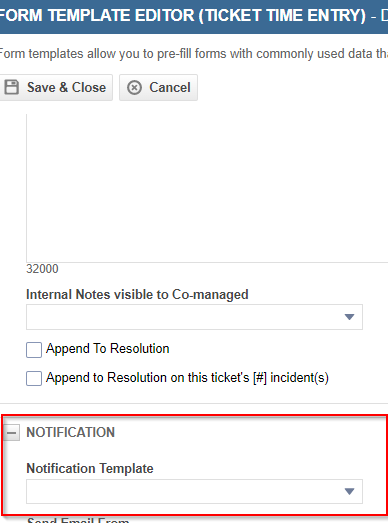
- For each Time Entry type, create a specific Time Entry Autotask Form/Speedcode
- Specify the Notification Template (or other settings) in that Autotask Form
- In your Ticket Category, remove all Time Entry forms other than the ones with the settings you want
Let’s take an example.
Say you have two LOBs: IT Support and Hosting. You’ve created two Ticket Categories: IT Support and.. you got it.. Hosting.
Now let’s create these Autotask Forms:
- IT Support – Remote Support. Includes your IT Support hourly rate and uses the Notification Template “IT Support Emails”.
- Hosting – Remote Support. Includes your Hosting Support hourly rate (perhaps free/included) and uses the Notification Template “Hosting Support Emails”.
Next, update your Ticket Categories:
- Ticket Category: IT Support. Remove all Time Entry Forms except “IT Support”.
- Ticket Category: Hosting. Remove all Time Entry Forms except “Hosting Support”.
At this point, your team will automatically use the correct forms, time entries, and notification templates.